Mastering the Art of Panoramas in Photography
Why Panoramas Are Worth the Effort
Panoramas are more than just wide images—they're windows into a scene that would otherwise feel constrained in traditional aspect ratios. They allow us to capture sweeping landscapes, expansive cityscapes, or even intricate details in a setting, all within a single frame. Unlike standard compositions, panoramas demand intentionality and creativity, forcing photographers to think about the story they want to tell across a wider canvas.
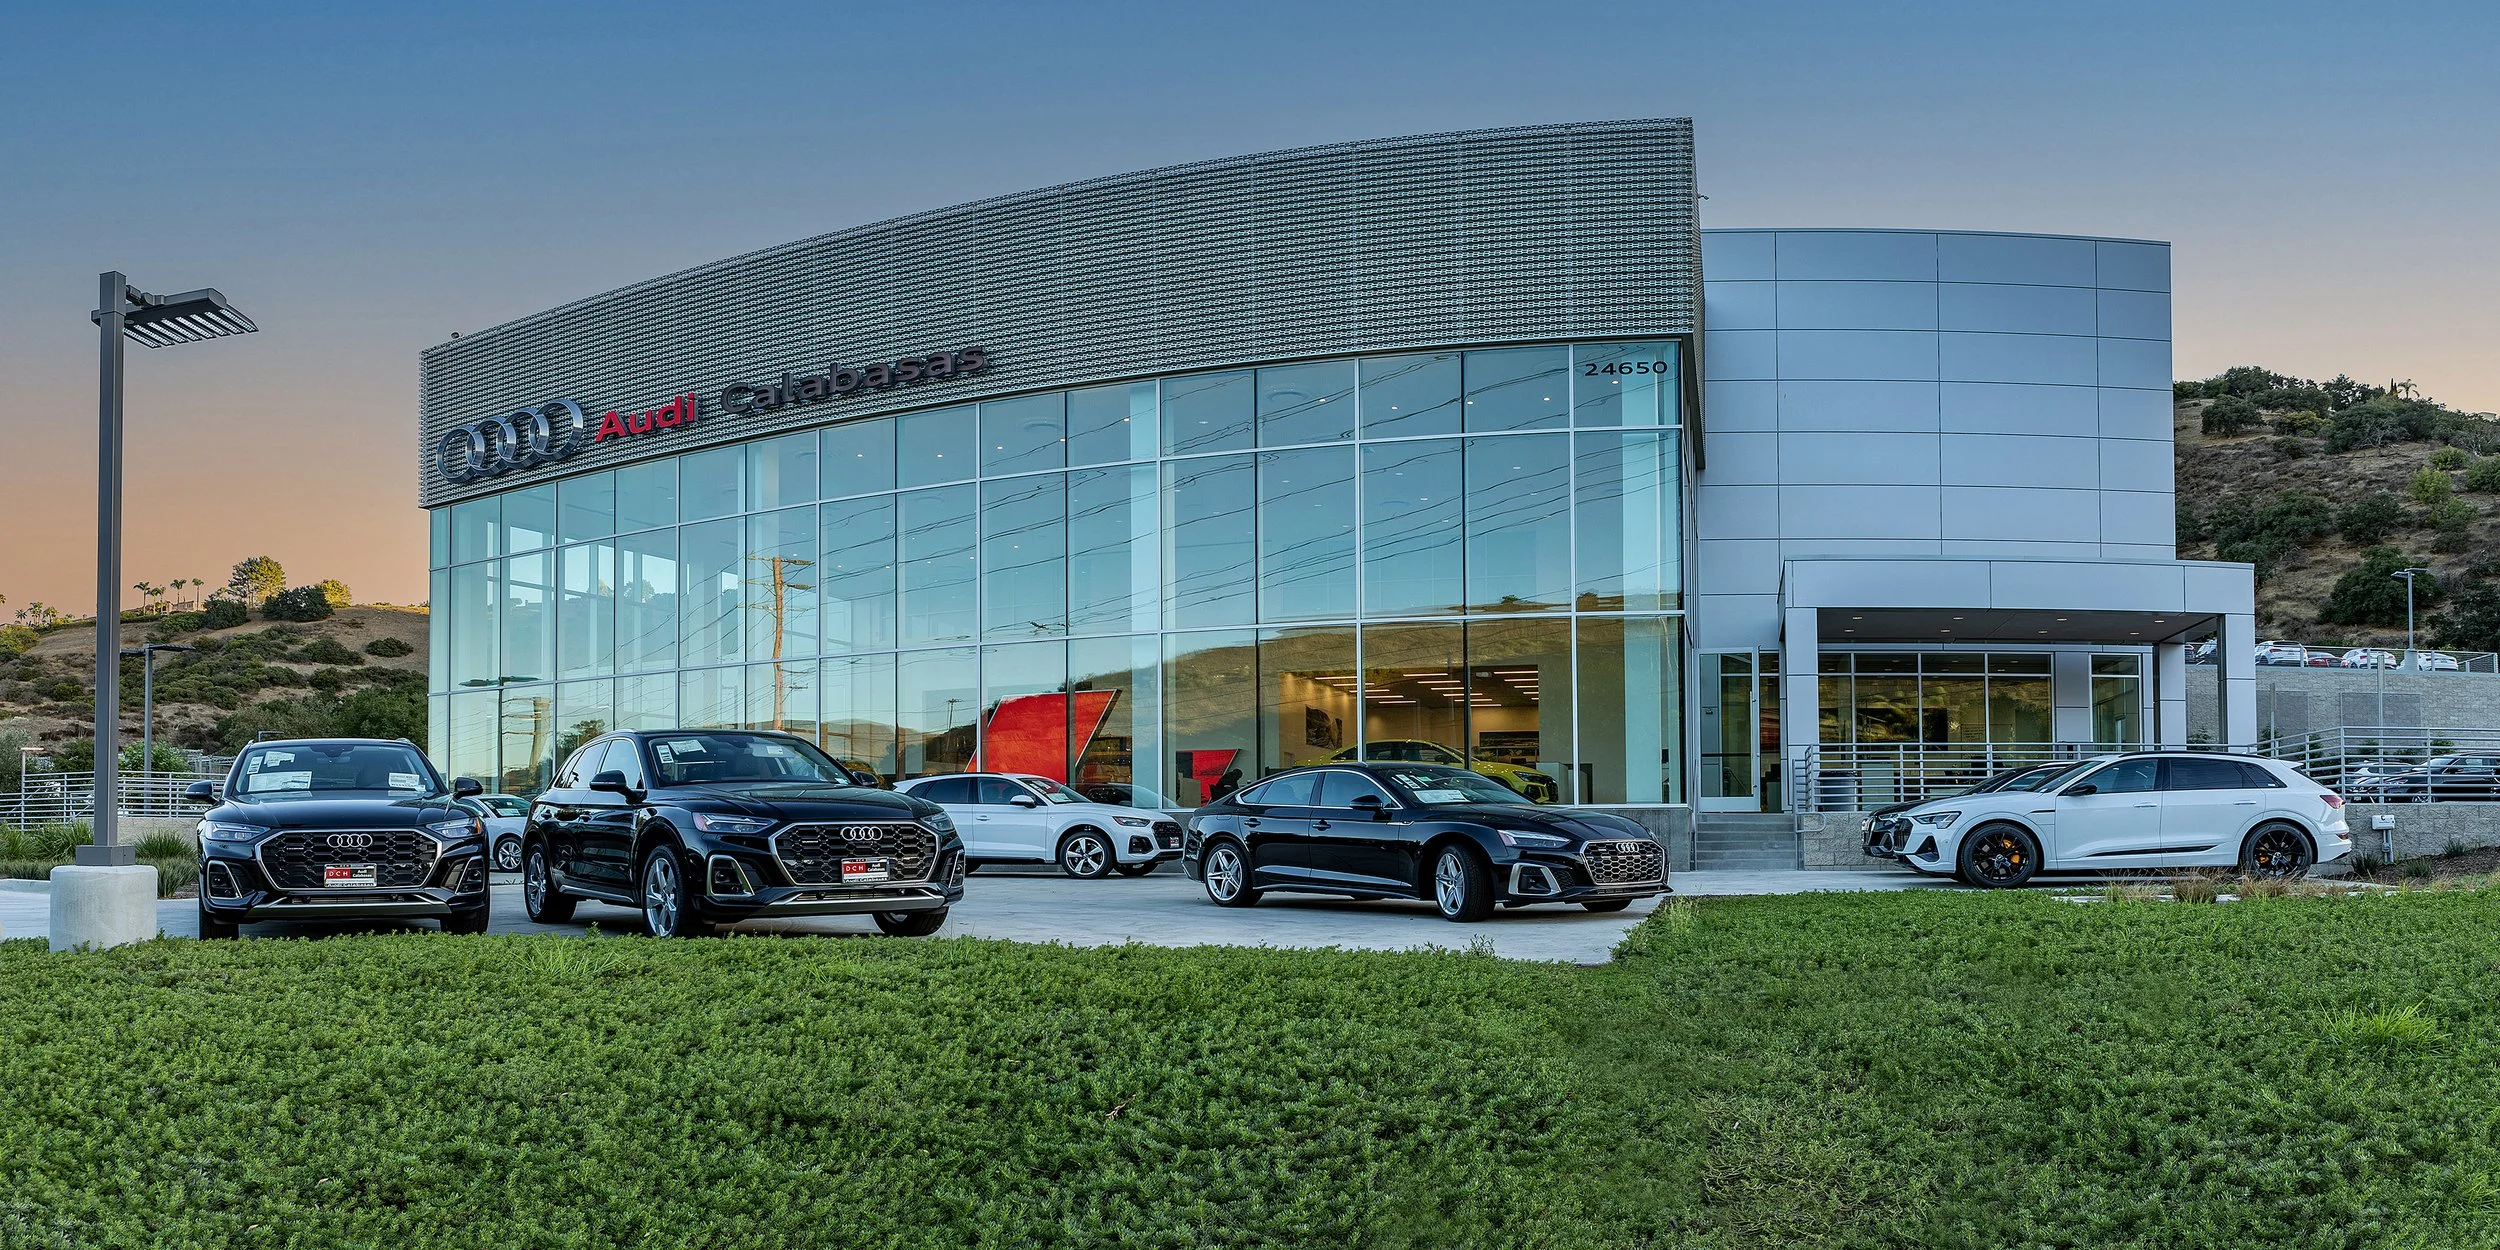
For me, panoramas stand out because they offer a unique perspective. Their elongated composition draws the viewer’s eye across the frame, creating an immersive experience. Whether it’s a dramatic desert sunset or the rhythm of a city street, panoramas have a way of amplifying the impact of a scene. Some of my favorite panoramic shots include desert mountains, cars, bridges and flowery hills. Each tells its story in a way no other ratio could.
How to Shoot a Panorama
Shooting a panorama takes some planning, but the results are worth it. Here’s how to set yourself up for success:
Choose the Right Scene
Look for expansive views or subjects that benefit from a wide perspective. Ensure there’s consistent lighting across the scene to avoid harsh differences in exposure.Use a Tripod
While handheld panoramas are possible, a tripod ensures your shots are level and aligned, making the stitching process in post-production smoother.Shoot in Manual Mode
Lock in your exposure and focus settings before starting. Inconsistent settings between frames can create visible seams in the final panorama.Overlap Your Shots
Each photo should overlap with the next by about 30-50%. This overlap gives Lightroom (or other stitching software) enough information to merge the images seamlessly.Shoot Vertically
Capture your images in portrait orientation. This provides more room for cropping and helps maintain quality, especially for taller subjects.
How to Merge Panoramas in Lightroom
Lightroom makes stitching panoramas incredibly easy. Follow these steps:
Import Your Photos
Start by importing all the images that will make up your panorama into Lightroom.Select and Merge
Highlight the images, right-click, and choose Photo Merge > Panorama. Lightroom will process the images and show you a preview.Adjust the Settings
In the preview window, choose the merge type:Spherical for wide or 360° panoramas.
Cylindrical for wider, horizontal scenes.
Perspective for architectural images.
Check the Auto Crop option to clean up edges or do it manually for creative framing.
Fine-Tune the Edit
Once merged, edit the panorama as you would a single image—adjust exposure, colors, and details.
Exporting the Final Panorama
When your edit is complete, export the panorama for its intended use:
For web, use a resolution of 2048 pixels on the long edge to balance quality and file size.
For prints, export at 300 DPI with the maximum resolution to retain every detail.
Why Panoramas Are My Favorite
Panoramas allow me to express a story in a way standard ratios can’t. Whether it’s showcasing the grandeur of a mountain range or the hustle of urban life, the panorama format never fails to captivate. It’s a tool for photographers to think beyond the usual and immerse viewers in something extraordinary.
Have you tried shooting panoramas? Share your favorite techniques or questions in the comments below, or check out more examples of my work on my blog.


